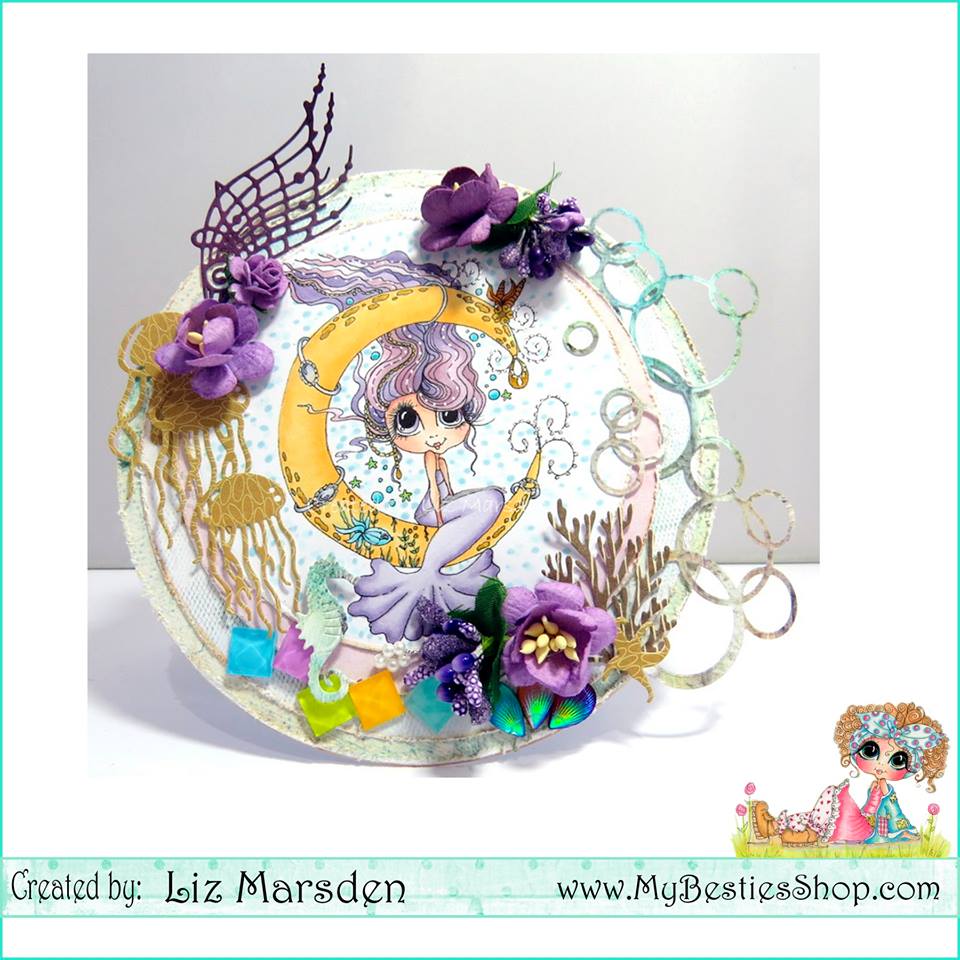
 Liz Marsden card tutorial:
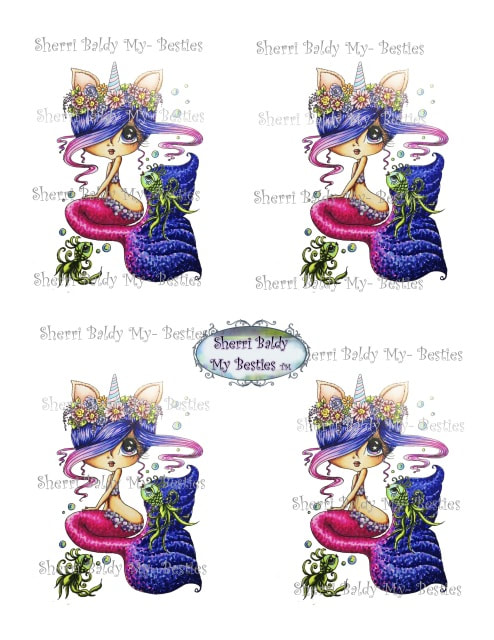
Tutorial: You can find this Bestie Mermaid here: http://www.mybestiesshop.com/store/p6143/Img098_Summer_Mermaid_Fun_Instant_Download_My_Besties_~_Besties_digi_stamp__.html 1. I used some circle dies in various sizes to make the base design, the largest I also cut one out of some 300gsm card stock, 2. I cut a sliver off the back bottom edge of the card base so the card will stand up, 3. I then added the designer paper over the top which I had distressed with some vintage photo then used my distress tool on the edge 4. Layer up the next designer papers in the same way 5. Distress the edges of the circle with the copic coloured image on too, I also added a hint of silver and Gold with metallic pens and some white dots in the hair too 6. Fix this onto a slightly larger circle, which has again been distressed 7. Add a cut out circles die between the 2nd layer from the bottom and the circle behind the image, on the right hand side 8. At this stage also add one of the die cut Jelly Fish 9. Fix the image and larger circle behind the image onto the middle of the card 10. Add some more Jelly Fish dies onto the left hand side of the image 11. Add some more sea themed die cuts here and there to keep in with the theme using similar colours you've used for the image to tie it all in 12. Finish the bottom of the card off with some Jewel type stones or beads 13. Attach a foam pad onto a die cut Sea Horse and attach over the jewels so it is above them 14. Do the same on the other side with a Star Fish die cut 15. To finish off add some flowers Supplies Used: 300GSM card stock/ white Copic pens Metallic silver and Gold pens WOC flowers Hunkydory - Spectacular Sea Creatures Dies lizscreativecorner.blogspot.co.uk
1 Comment
Hi Everyone,
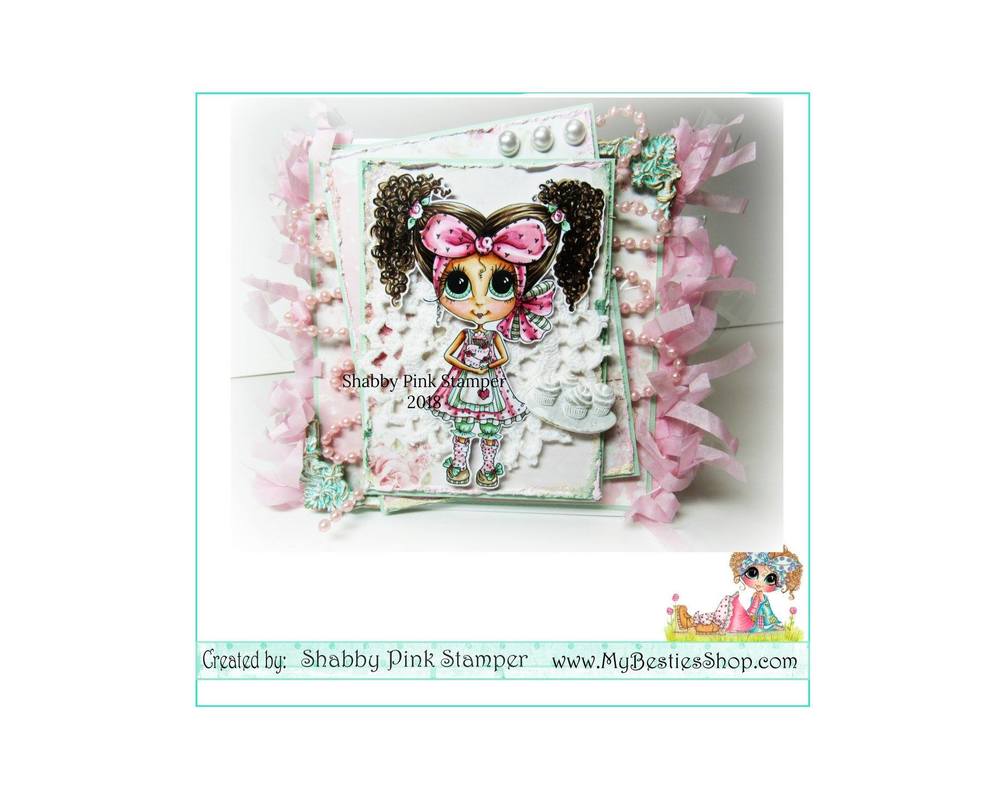
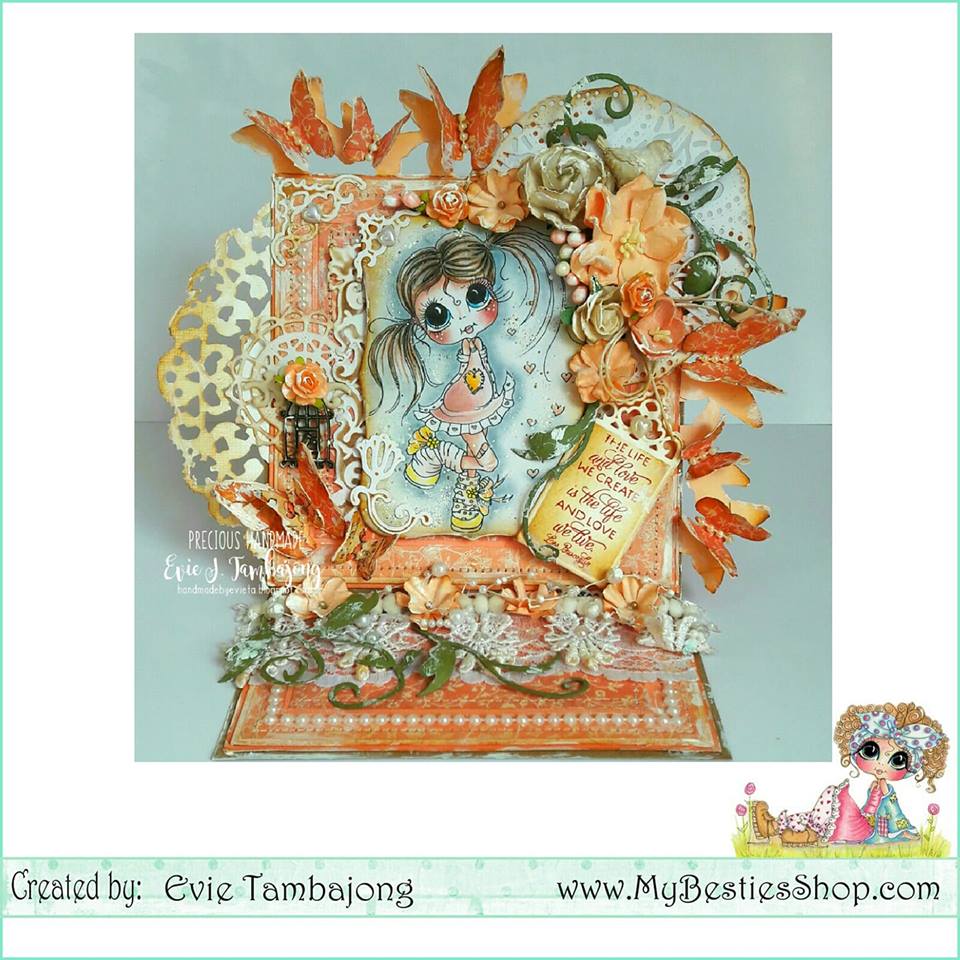
I made a 5 1/2 x 5 1/2 thick card base and added layers of designer paper. I distressed the edges and added some of Sherri's glitter to the edges along with some matching paint. I used some fancy crepe paper ribbon on each side and added some pink beaded strands. I finished it off with a cupcake resin embellishment and 3 white pearls. I fussy cut the lovely Bestie image and added a cotton white doily behind her. I used the Prima Love Story paper. Mermaids are always so fun to create with! This image is pre-colored by one of the My Besties colorists. I am using a My Besties Printable called SM Color Close up 3d layer look Dies used:
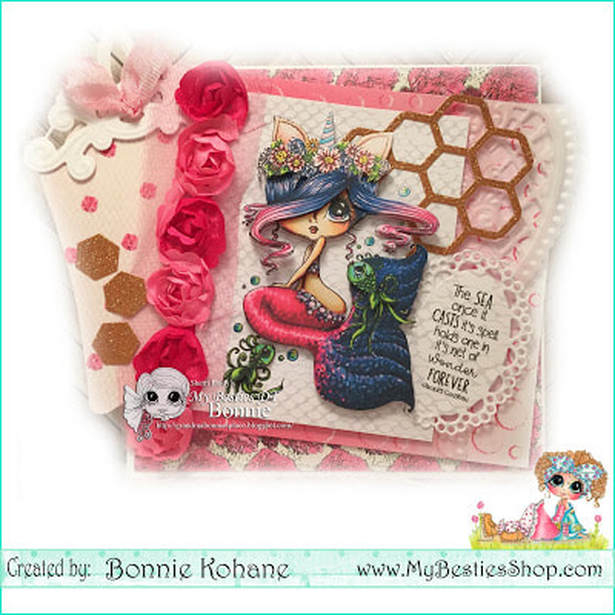
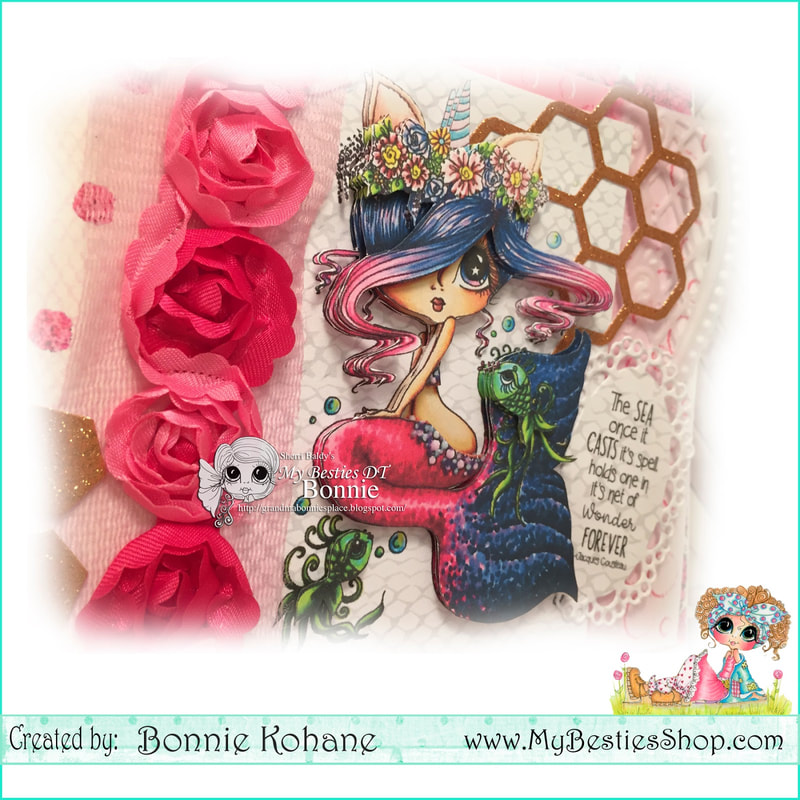
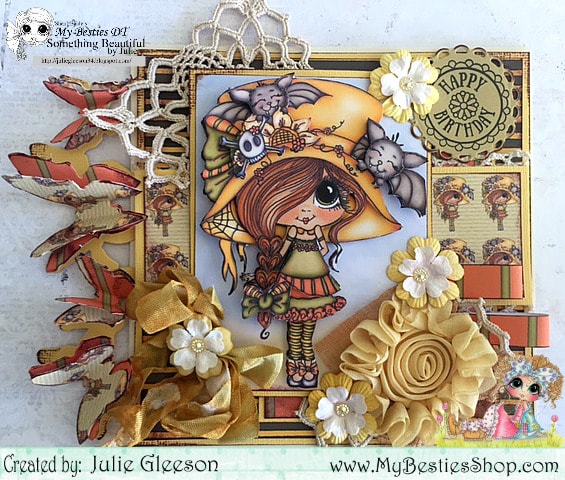
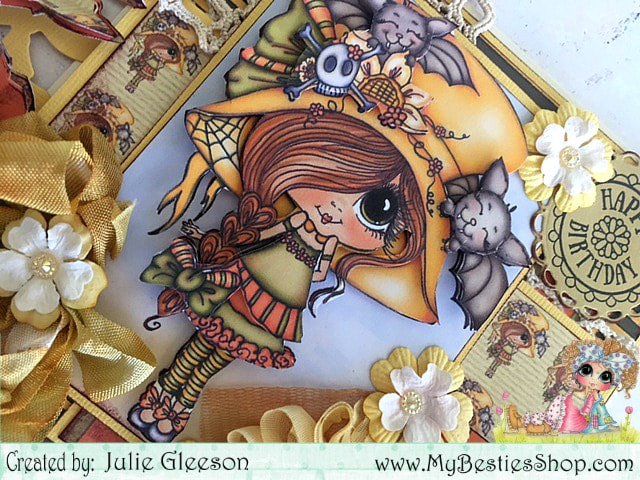
La La Land - honeycomb Marianne Designs - tag - CR 1352 Marianne Designs - eyelet (for sentiment) - CR1241 Marianne Designs - corner die on tag - LR0143 Marianne Designs - (vellum) - LR0202 My Besties Printable - SM Color available here: Hello Besties! Julie Here today with Bestie Inspiration for the Shabby Blog I have used one of the new Bestie Paper packs Fall - You Drive me Batty Paper Pack I created a 3D Decoupage image for my cardand used the gorgeous matching papersto complement the image on my cardThese papers are so much fun to use and make it so easy!
Hello Lovelies- posting my DT card using this sweet image
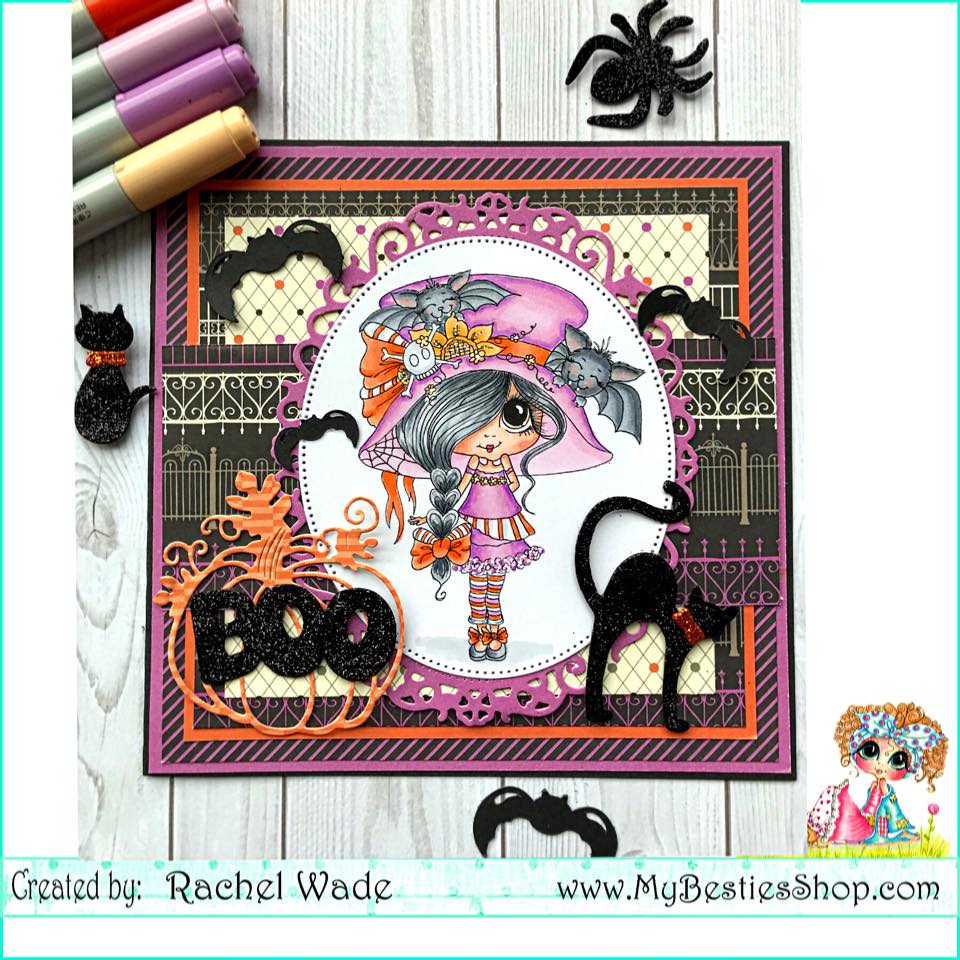
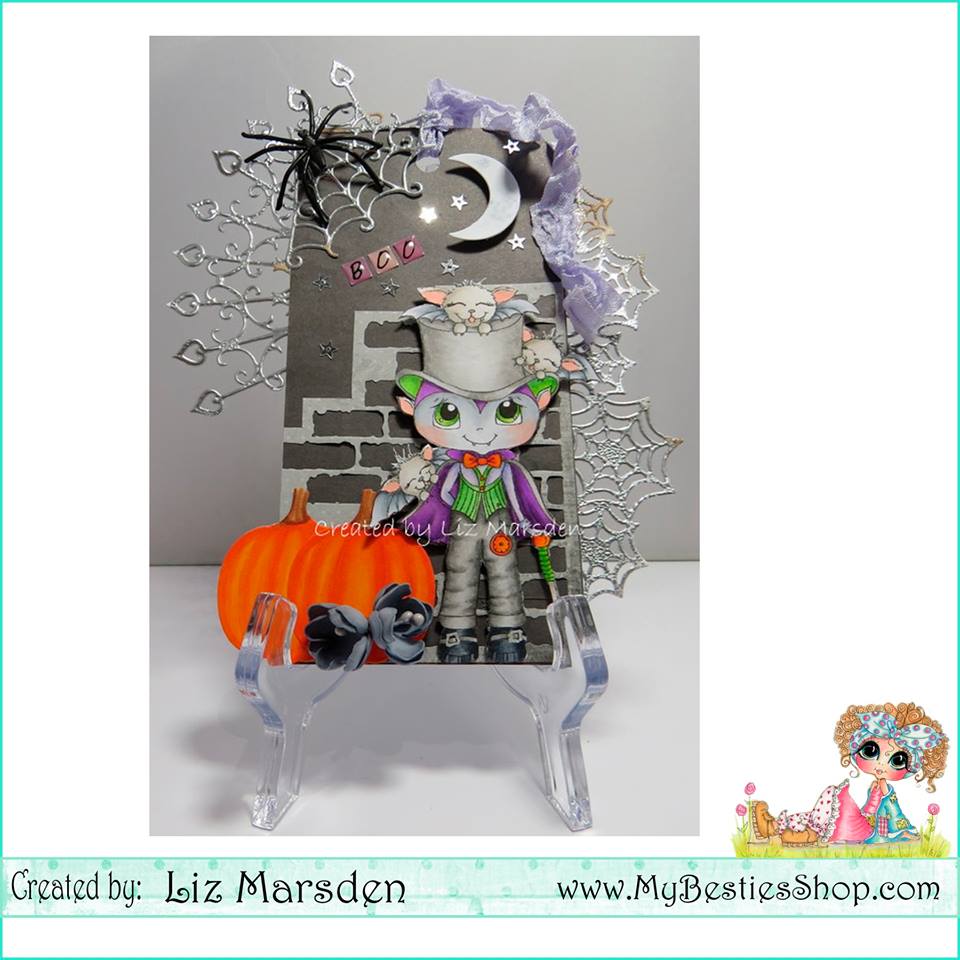
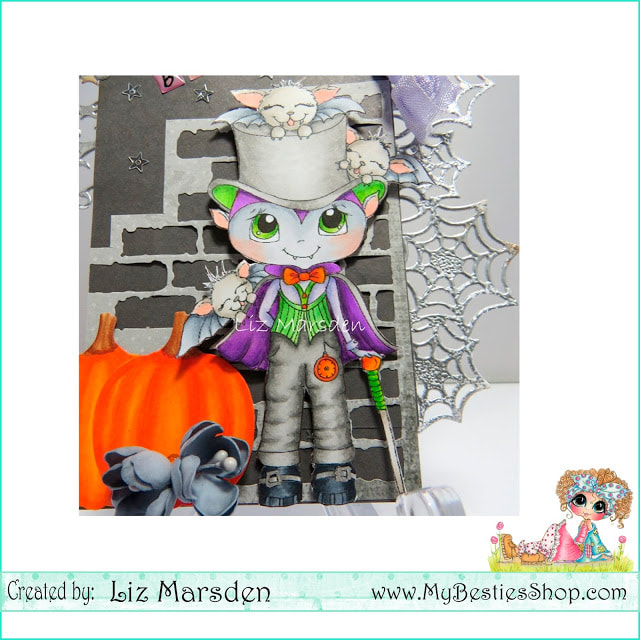
http://www.mybestiesshop.com/store/p6297/Happy_Fall%2FHalloween_Bestie__img017_Instant_download_Sherri_Baldy_My_Bestie_digi_stamp_-_copy.html Hi guys, I've been on hols in Teneriffe so I'm slowly getting back to making my creations. Over at My Besties Sherri has created some fabulous Halloween images and I couldn't wait to colour this adorable cute image up. I started out with a tag shape and I then added some Halloween themed die cuts along the edges, these I cut out of card stock then added some heat embossing over the top and a little distress ink here and there to give an aged look too. I used a brick effect die cut by Sissix for a little added interest, I die cut out the moon and the pumpkins in card then coloured them and the image with my copics, I then fussy cut out the image with my scissors. I finished off my tag with some metal sequins from Swedish House Crafts and some of my handmade Foamiran flowers with a die by Lady E Copics used:
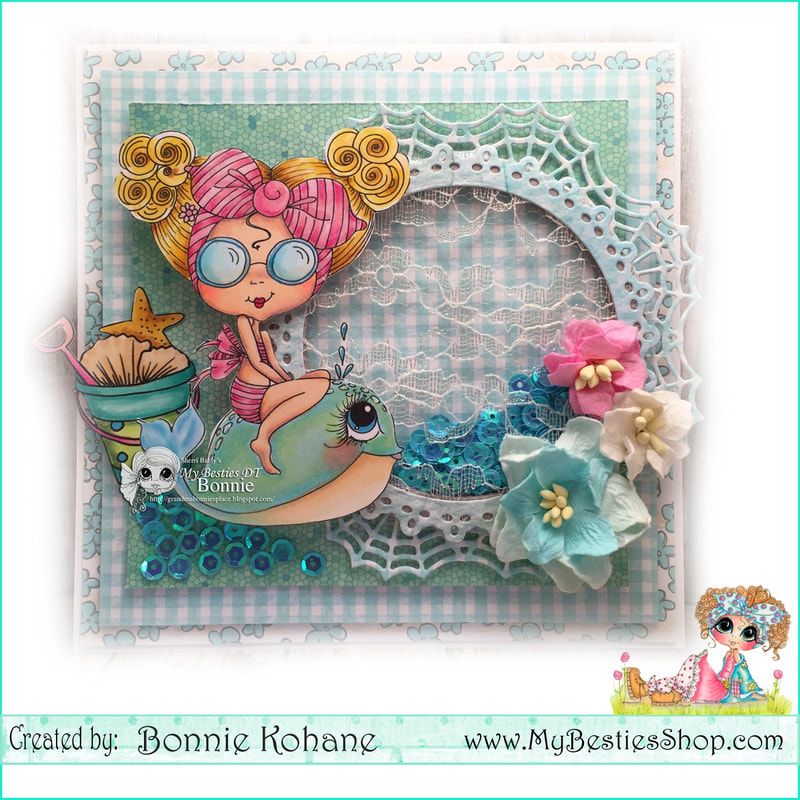
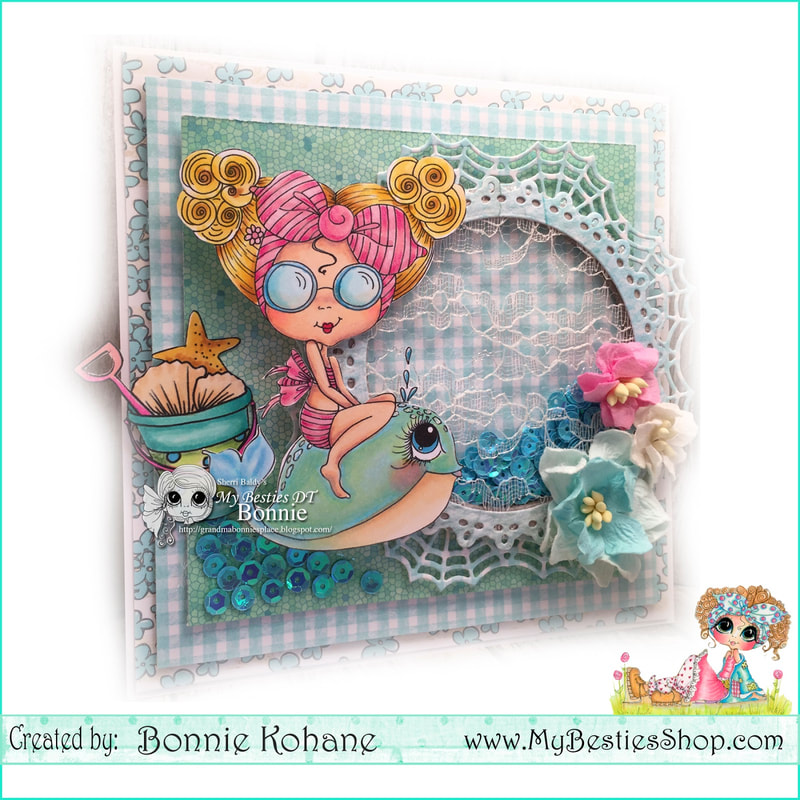
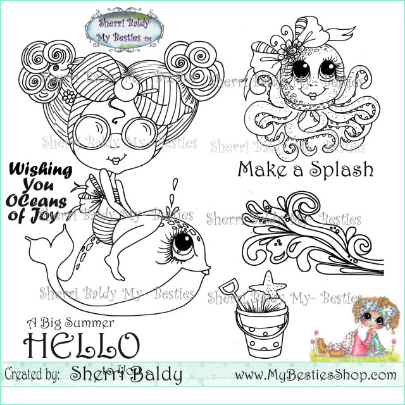
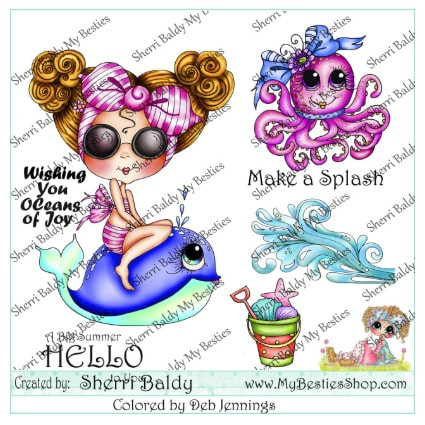
Skin - C00, C0, C1, C3, C5 Pants - T1, T3, T5 Eyes - YG03, YG13, YG17 Shoes - C5 C7, C9 Green - YG03, YG13, YG23, YG13 Orange - Y38, YR16, YR68 Cape - Vo4, Vo9, V17 Shirt - BV0000, BV00, BV02 Ears - R11, R98 Bats - W00, W0, W1, W3, C0, C1, C3, C5, R11 Do check out this and all the fabulous images and papers etc you can get over at Sherri's online shop, Happy Crafting!!! Such pretty images from the July My Besties Release!! I created a shaker card with this image! I am using a My Besties Image set, called "Make a Splash" I have used Copic markers to color these images. *Shabby Tip: Use lace instead of clear acrylic for your shaker card. Add some sequins instead of beads so they don't go through the lace. Dies used: Marianne Designs - (frame) - LR0430 Side view Make s Splash pre-colored kit available here:
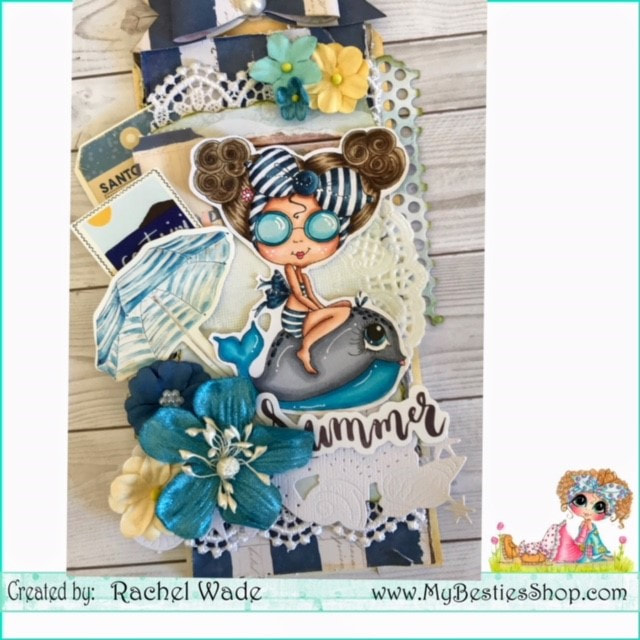
http://www.mybestiesshop.com/store/p6266/Pre-Colored_kit_%22Make_a_splash%22__My_Besties_digital_download_.html Hello Lovelies - here is my latest DT inspiration . It is winter here in New Zealand , so the thought of having some summer fun at the beach is very welcoming on these cold days !!
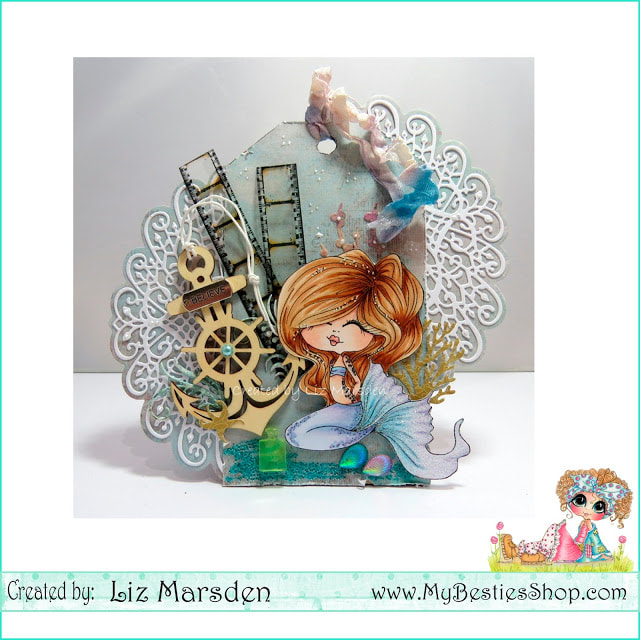
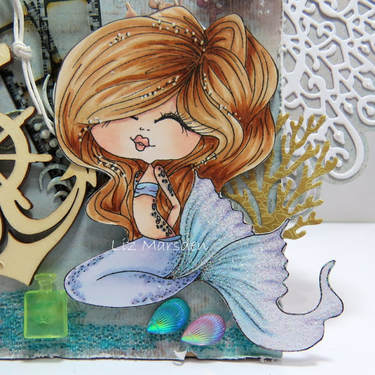
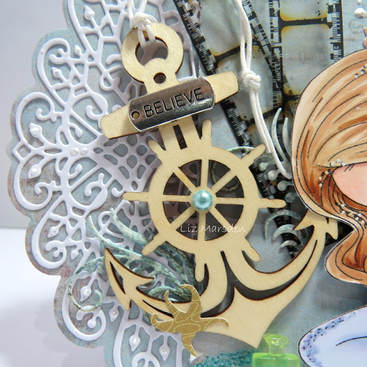
I'm using this super adorable new release image and made a shabby tag . I coloured the image with Copic markers and added her to a tag base . I layered the tag with several pieces of distressed paper and added several embellishments and flowers . http://www.mybestiesshop.com/store/p6173/Img102_Summer_Fun_Instant_Download_My_Besties_~_Besties_digi_stamp___.html Hi guys, have you seen the gorgeous new releases Sherri has created? well this is one of them!! Img - 113 July see this and more here Isn't she cute!!! I have coloured her with my copics then added some glitter to her gorgeous tail. I used a MDF tag for the main section then used a Heartfelt die for the fab borders on the sides. I added some sea themed embellishments for the rest of my design, I am giving this to my granddaughter as she saw it and loved it. Happy Crafting!!
Liz |
Archives
November 2018
Categories |
 RSS Feed